NVIDIA Studio Driver
If you are a content creator who prioritizes stability and quality for creative workflows including video editing, animation, photography, graphic design, and livestreaming, choose Studio Drivers.

Setup guide
Your Razer Core X Chroma arrives with the GIGABYTE RTX 3090 TURBO 24GB already installed and secured, so setup starts at plugging it in. Follow the steps below and you will be rendering on desktop-class graphics in a few minutes.
You can view the video below for instructions (YouTube).
Step 1
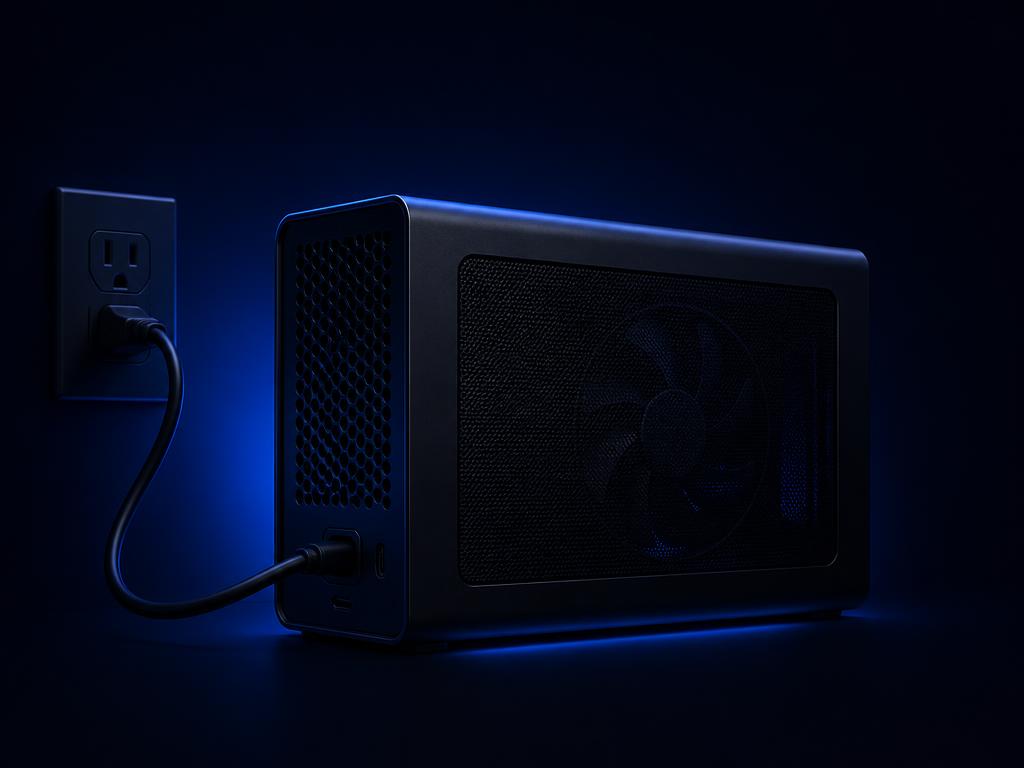
Use the power cord to connect the enclosure to a wall outlet. Use the appropriate power cord for your region.
Step 2
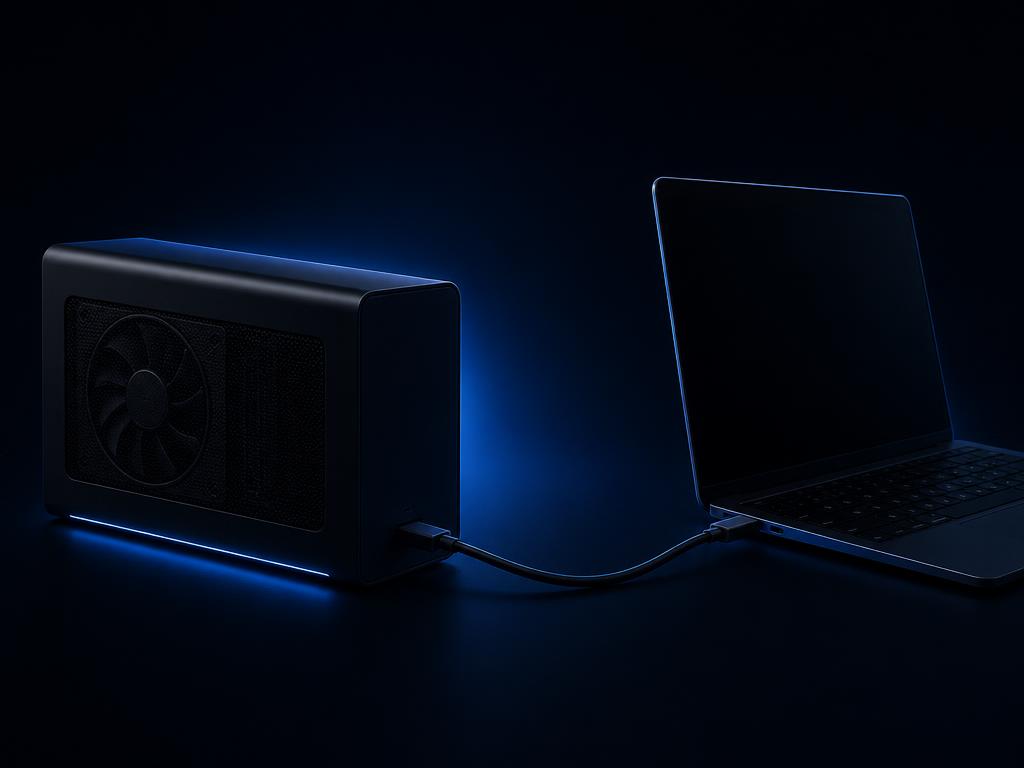
Plug the Thunderbolt 3 (USB-C) cable into the Thunderbolt 3 port of a Thunderbolt 3 external-graphics-enabled system.
Note: This connection will also provide power and charge your USB-C-powered laptop. Be sure to only use a compatible active 40 Gbps Thunderbolt 3 (USB-C) cable.
Step 3
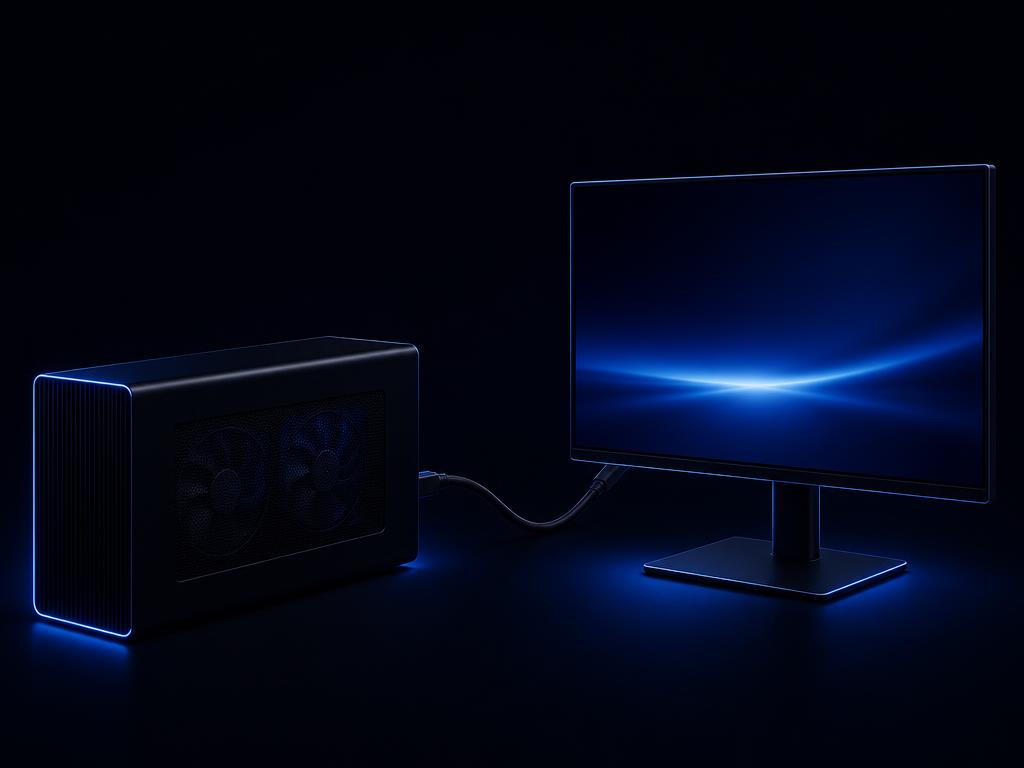
Connect the Razer Core X Chroma to your external monitor using a display port on the installed graphics card.
Step 4
External graphics support depends on your operating system, firmware and manufacturer updates.
Step 5
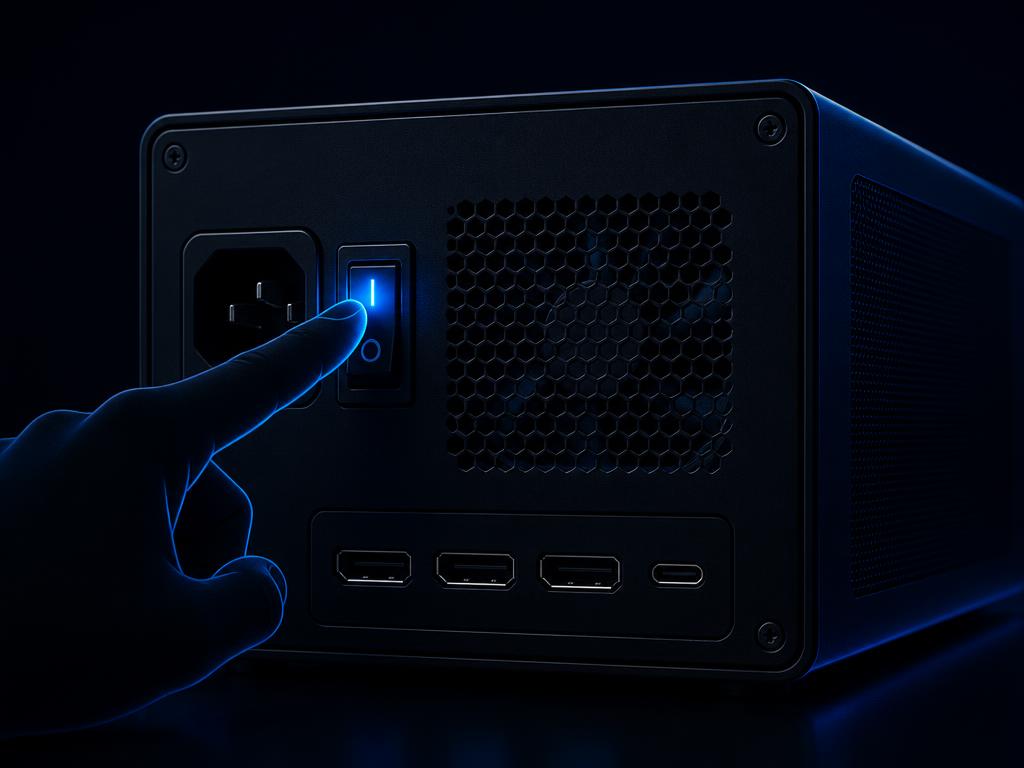
Flip the power switch on the rear of the enclosure.
Note: The lighting will only display when the device is connected to the Thunderbolt 3 (USB-C) port of your PC.
Step 6
Once the enclosure is powered on and connected, your system needs to trust it.
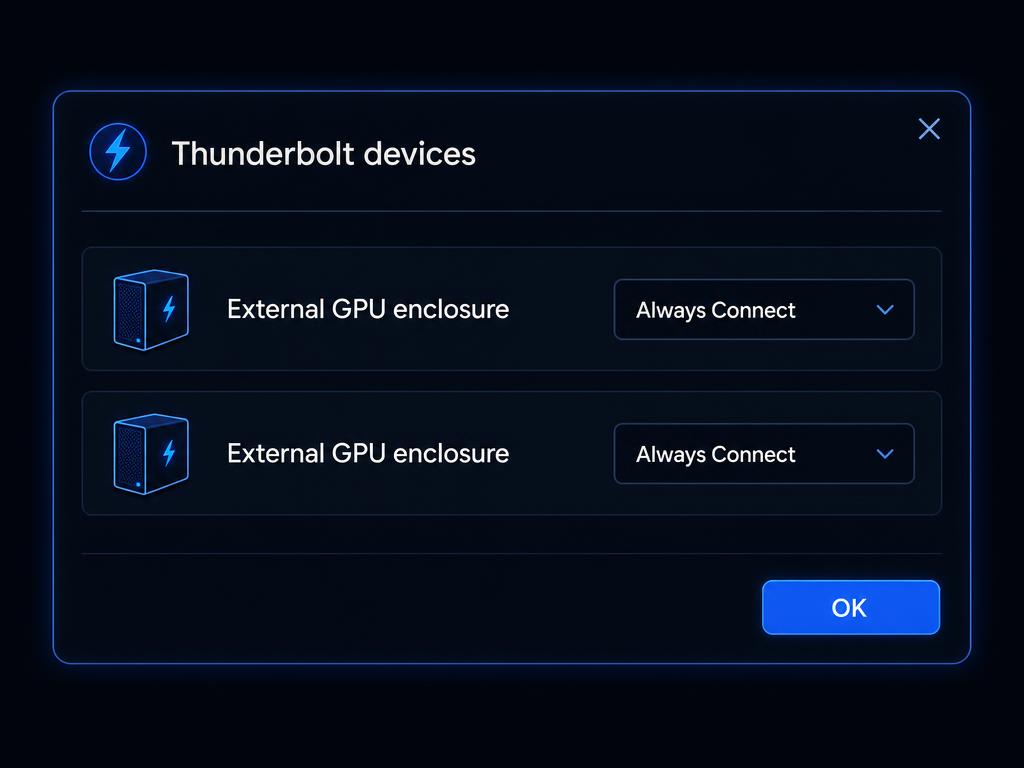
Step 7
The external graphics card must be detected by the system before installing the driver. You may also need to install the latest drivers for the internal graphics card of your PC for the external graphics card to function.
Note: Ensure to select the correct driver option for your system as some systems may require either the Standard or DCH driver version.
Drivers
Get the driver from nvidia.com/en-us/drivers. To find the right one, select: GeForce → GeForce RTX 30 Series → GeForce RTX 3090 → your OS → your language of preference. Then pick the driver type that matches how you work.
If you are a content creator who prioritizes stability and quality for creative workflows including video editing, animation, photography, graphic design, and livestreaming, choose Studio Drivers.
If you are a gamer who prioritizes day of launch support for the latest games, patches, and DLCs, choose Game Ready Drivers.